Patio Construction Project Timeline Explained
If a client asks, “How long will my patio take?” they are rarely asking for a rough guess. They want to know when digging starts, when the yard looks like a work site, how long materials will sit on-site, and when they can use the space. That is why a clear patio construction project timeline matters so much. It sets expectations early, reduces avoidable questions mid-project, and gives both your team and your client a shared view of progress.
Patio work looks simple from the outside. Mark the area, prep the base, install the surface, clean up, done. In practice, the timeline depends on design decisions, drainage conditions, material lead times, weather, permit requirements, site access, and how quickly the client approves changes. A small paver patio in an open backyard can move quickly. A multi-zone outdoor living area with retaining walls, steps, lighting, and custom stonework will follow a very different schedule.
CustomWorks.app
Keep clients updated without messy chats
Give each project a private feed for client updates — and keep a clear history of photos, videos, notes, stages, decisions, and delivery moments for your team.
What shapes a patio construction project timeline?
The biggest mistake is treating all patios as the same kind of job. They are not. Timeline planning starts with scope.
A basic patio may include layout, excavation, compacted base, edge restraint, pavers or concrete, and cleanup. A more complex project may also involve demolition of an existing surface, grading corrections, drainage work, seat walls, stairs, pergola footings, outdoor kitchens, utility coordination, or planting. Every added element creates more dependencies. That does not always mean the project becomes slow, but it does mean the schedule needs clearer stage-by-stage communication.
Material choice also changes the pace. Poured concrete often moves differently than pavers. Natural stone can require more fitting and finishing time than modular materials. If the selected product is in stock locally, installation can start sooner. If it needs to be fabricated or ordered, the pre-construction phase may stretch longer than the actual on-site build.
Then there is site reality. Tight access through a side gate can slow excavation and hauling. Poor drainage may force redesign of the base and slope plan. Hidden roots, old footings, or unstable soil can add unexpected work. These are normal project variables, not signs of mismanagement, but clients usually need help understanding that.
A realistic patio construction project timeline, stage by stage
For most residential patio jobs, the full process can range from two to eight weeks, and sometimes longer for custom or heavily phased work. The on-site build is only part of that window.
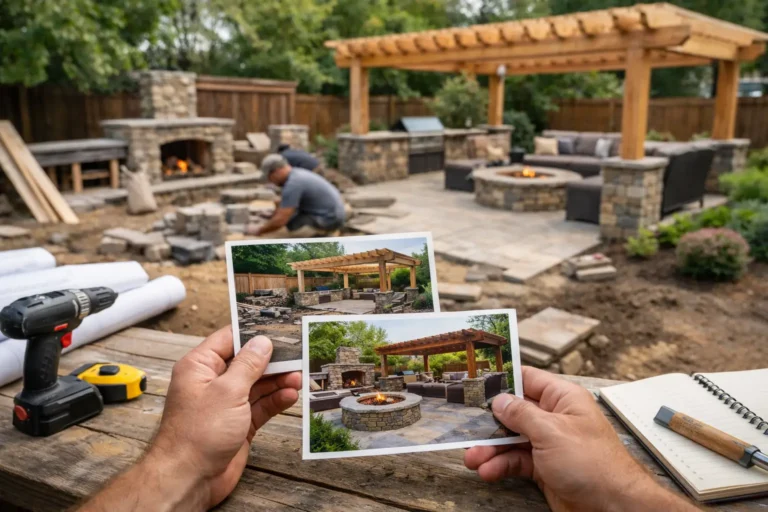
1. Consultation, site review, and scope definition
This stage often takes a few days to two weeks depending on how quickly meetings, measurements, and approvals happen. The goal is to define what is actually being built.
That includes dimensions, material choices, edge details, drainage approach, transitions to the house or lawn, and any extras such as fire pits, walls, steps, lighting, or built-in features. If the client is still comparing options, this phase expands. If they are decisive and the site is straightforward, it can move quickly.
For companies handling multiple custom projects at once, this is also where communication habits start to matter. A clear record of concept notes, reference photos, revisions, and approvals prevents confusion later when the build crew is on-site.
2. Design, estimating, and approvals
Once the scope is clearer, the project moves into pricing and final sign-off. On a simple patio, this may take only a few business days. On a custom outdoor project, it can take one to three weeks.
Most delays here do not come from production capacity. They come from decision-making. Clients change material preferences, ask for alternate layouts, compare costs, or pause while coordinating with another contractor. This is the point where many project timelines become fuzzy because the contractor sees the job as sold, while the client still sees it as undecided.
A better approach is to treat approval as a formal stage. Once drawings, materials, and price are accepted, the timeline becomes much more reliable.
3. Permits, HOA review, and scheduling
Not every patio needs a permit, but some do, especially if the project includes structural elements, electrical work, drainage changes, retaining walls, or covered features. HOA review can add another layer.
This stage can take a few days or several weeks depending on the local process. It is one of the least predictable parts of a patio construction project timeline because it depends on outside parties. Good contractors explain that early rather than promising an exact start date they do not fully control.
Crew scheduling also happens here. Even after approval, there may be a queue before mobilization. Clients usually handle that wait better when they can see exactly which stage the project is in rather than hearing silence.
4. Material ordering and procurement
If materials are standard and in stock, this stage may barely affect the schedule. If the patio uses special-order pavers, custom stone, integrated lighting, metal edging, or coordinated outdoor fixtures, procurement can add one to four weeks or more.
This is often where communication breaks down. From the contractor side, the job is moving because materials are being arranged. From the client side, nothing visible is happening. That gap creates the classic “Any updates?” message.
For long-running custom work, a private update feed can be useful because it shows that progress is not limited to visible on-site labor. Notes about ordered materials, confirmed delivery windows, and approved samples help maintain trust while the job is still in preparation. That is exactly the kind of communication structure businesses use with CustomWorks at https://customworks.app.
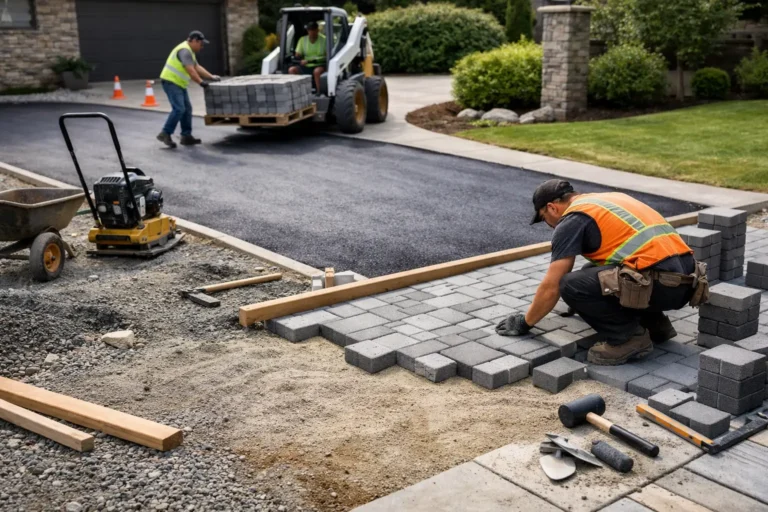
5. Site prep and demolition
Once work starts on-site, the patio becomes very visible to the client. Site prep usually takes one to three days for a straightforward project, longer if there is demolition, removal, grading correction, or access difficulty.
This phase includes marking utilities if needed, protecting adjacent areas, removing old surfaces, excavating to the required depth, and hauling away debris. Clients often interpret excavation as fast progress, but it is only the beginning. What matters most for long-term durability is what happens next.
6. Base preparation and drainage work
This is the least glamorous and one of the most important stages. Depending on size and complexity, it may take one to four days.
The crew installs and compacts the base in layers, checks slope, addresses drainage, and prepares a stable foundation. If the patio fails later, the problem is often here, not in the final surface. That is why experienced contractors do not rush this step just to show quick visual progress.
Weather can interrupt this stage. Heavy rain can affect soil condition, compaction quality, and access. A realistic schedule allows room for that instead of pretending every day will be ideal.
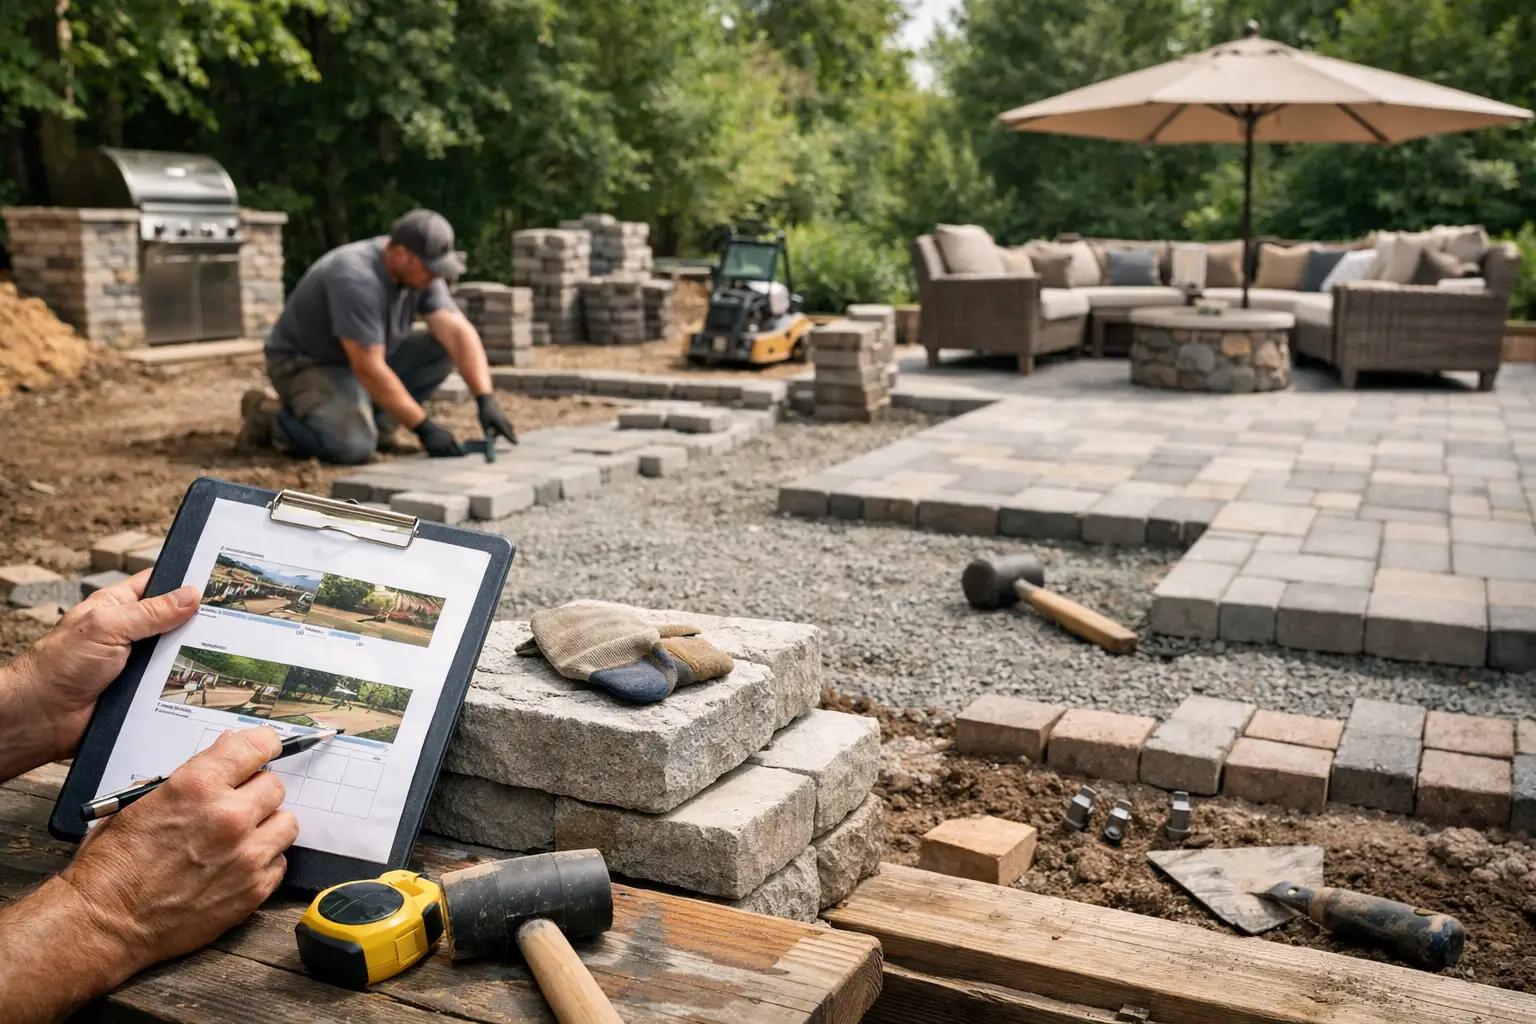
7. Surface installation
The installation itself may take two days to a week or more depending on the material and pattern complexity. Pavers, natural stone, and stamped concrete all follow different rhythms.
For pavers, the crew sets the bedding layer, places the units, cuts edges, secures restraints, and sweeps in joint material. For poured concrete, forming, pouring, finishing, and curing all matter. For stone, fitting and leveling can take longer than clients expect because the finish depends on craftsmanship rather than simple repetition.
This is usually the stage clients pay the most attention to because the patio finally looks like a patio. It is also where late design changes become especially disruptive.
8. Finishing, curing, and cleanup
A patio is not always ready for use the moment installation ends. Concrete needs curing time. Jointing materials may need to settle. Sealers, if used, may require dry conditions and additional wait time.
Cleanup, walkthrough preparation, punch corrections, and final detailing usually take another day or two. If the project includes lighting, planting touch-ups, drainage checks, or accessory installation, those items may extend the finish stage.
9. Final handoff
The best handoff is not just a payment request. It is a clear closeout moment.
That includes a final walkthrough, care instructions, notes on curing or first-use timing, and confirmation of any small remaining items. For the client, this is where uncertainty should end. For the contractor, it is a chance to show the full project history in an organized way, not through scattered texts and buried photos.
Where timelines usually slip
Most delays happen for predictable reasons. Weather is the obvious one, but client-side decisions are just as common. Scope changes after approval, slow material selections, delayed responses, permit surprises, and hidden site conditions all affect delivery.
The real issue is usually not the delay itself. It is the lack of visible explanation. Clients become frustrated faster when they do not know whether the project is waiting, moving, or blocked. A calm, stage-based update process solves much of that tension before it turns into repeated calls and messages.
How to communicate the timeline without overpromising
The most professional approach is to present the patio timeline as a sequence of stages with estimated ranges, not one rigid finish date detached from real conditions. That sounds less dramatic at the sales stage, but it creates fewer problems later.
Clients respond well when they can see what has been completed, what is in progress, what decision is needed from them, and what could affect the next step. Photos, short notes, delivery updates, and stage markers do more to build confidence than long explanation emails after the fact.
A patio may only take a few days on-site, or it may become a multi-week custom build with several moving parts. Either way, the same rule applies: visible progress feels faster than silence. If your team can make the project timeline clear from first consultation through final handoff, you reduce friction, protect trust, and make the entire job feel more controlled for everyone involved.
A good patio is built from base to finish. A good client experience is built the same way – one clear update at a time.